
Here's how I did it:
Oh, can't forget the "Before" photo. Plain Jane cream-colored shade, and gold. Gold. I don't even know why I ever bought this.

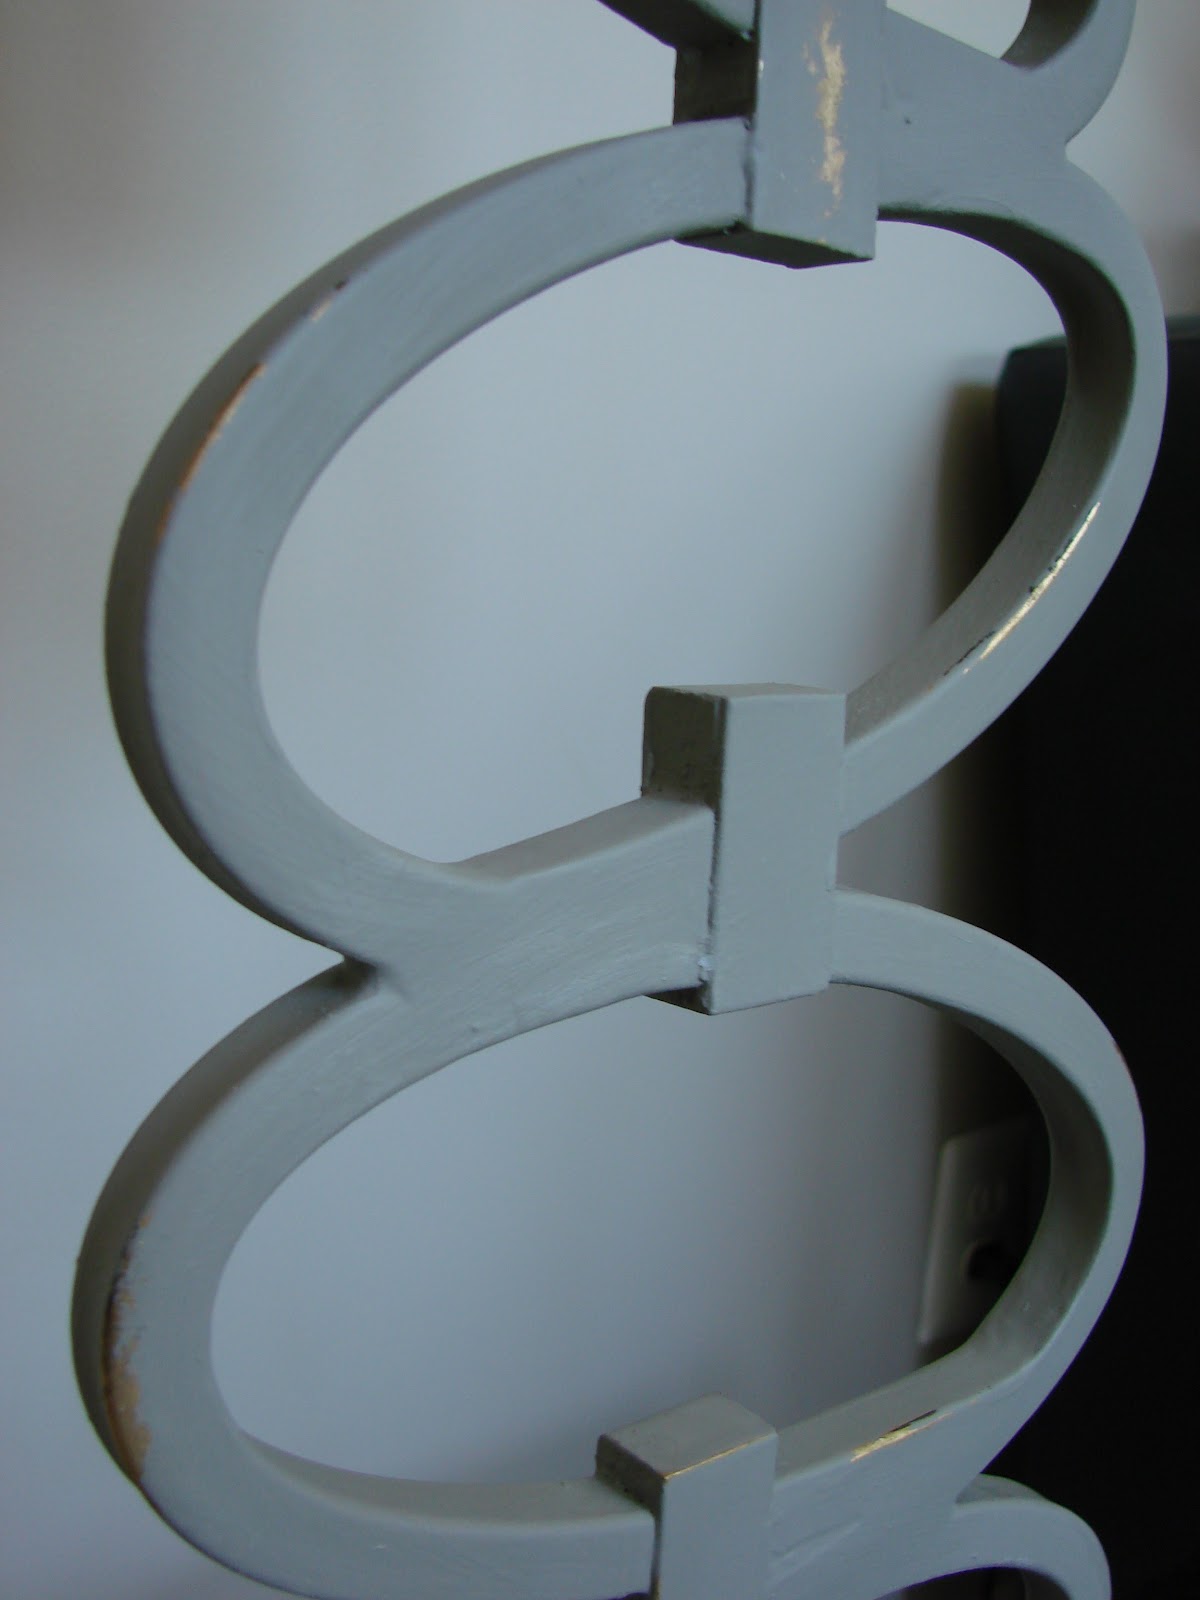
I chose to use ASCP in French Linen. I used a small brush and quickly painted a base coat over the entire black base and gold center. Nothing tricky here - just slapped it on. No primer, no prep beforehand. Just paint.

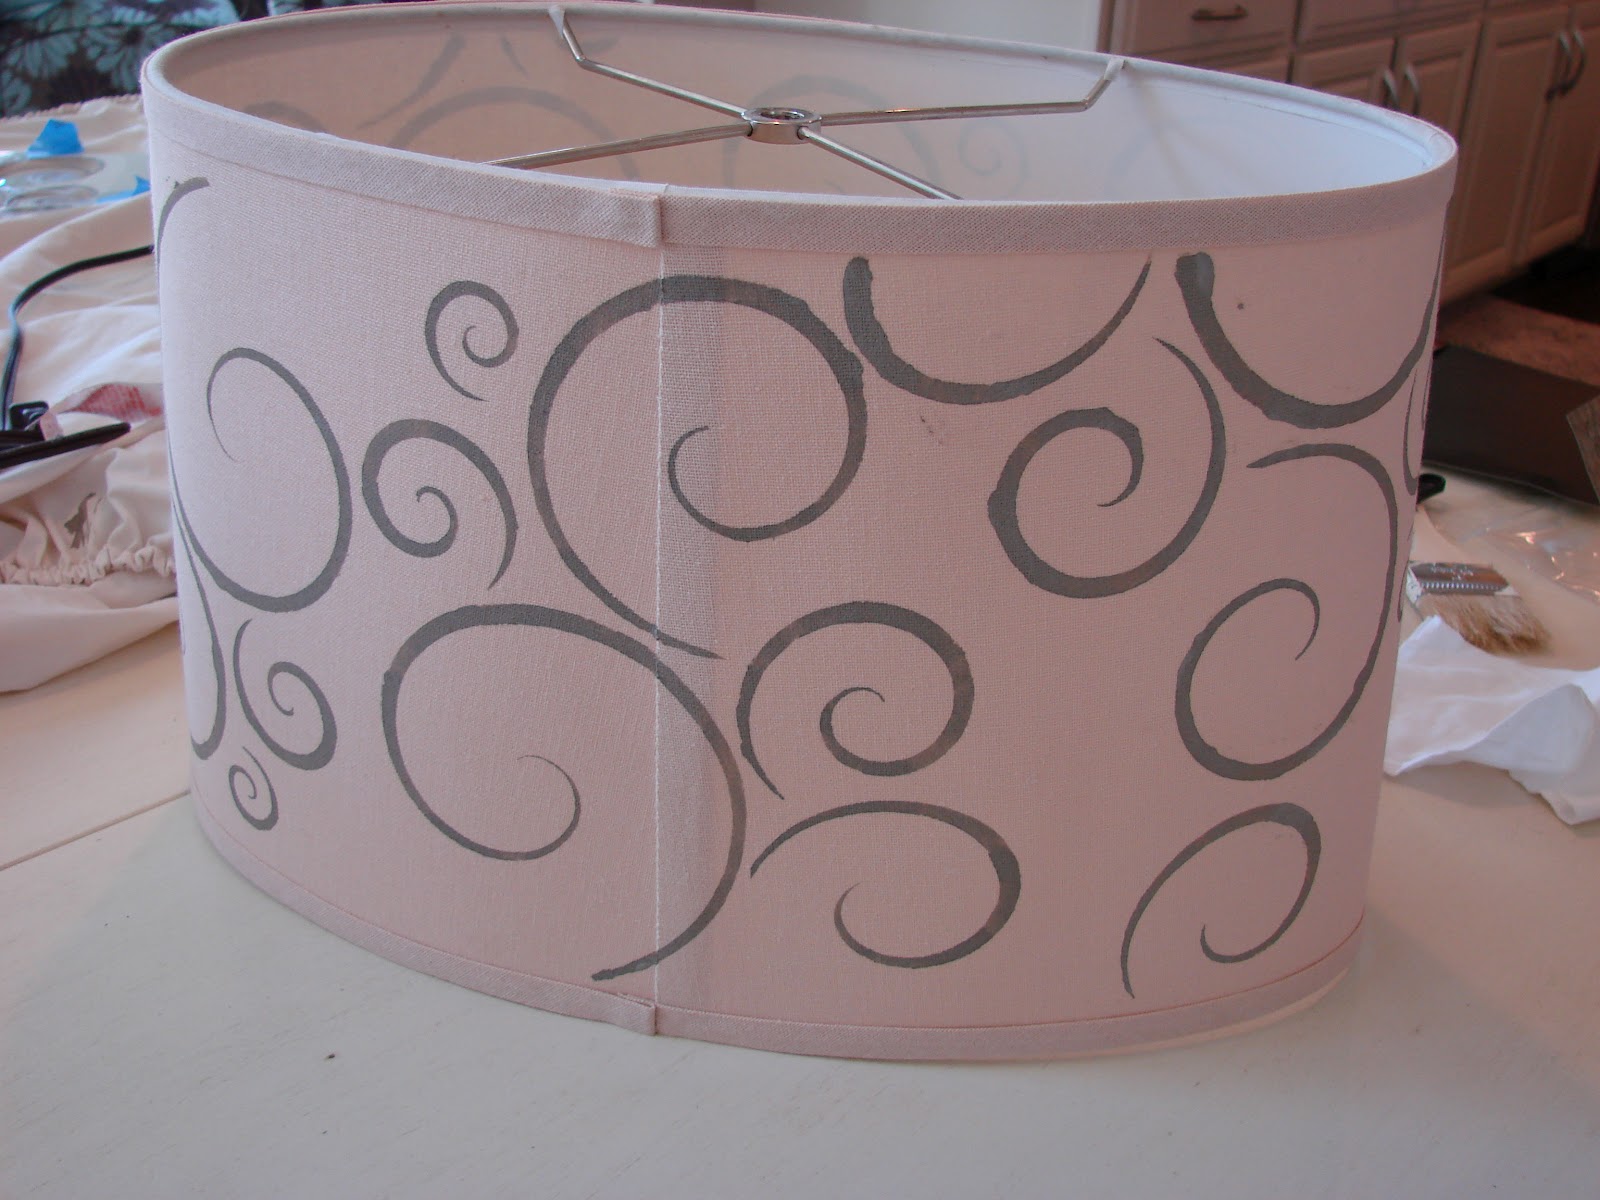
While that was drying, I moved on to the lamp shade - the part I was most excited about, yet still a little nervous to attempt. I hadn't stenciled before and worried that if I screwed it up, that was all she wrote. There were no other lamp shades to take its place. But, my worries quickly faded as I discovered how easy it was.
First, I taped the stencil in place on the lamp.

Next I dipped the flat end of my stencil paint brush into the paint. The directions on the stencil said I should wipe the excess paint off the end of the brush onto a cloth. That is an important warning - too much paint and you'll see it spread underneath the stencil. So take heed - less is more here!
After you've dipped and wiped, then start dabbing at an open section of the stencil, applying the paint in a circular motion. I had to dip and wipe several times just to complete each swirly shape.

An important note to bear in mind as you are working - gently keep your stencil in place with just the tips of your fingers. If you apply too much pressure, you'll inadvertently move the stencil. I found it slid around easily.

Once I painted the sections of the stencil I wanted (in this case, the whole thing), I removed it and marveled at how good it looked, and thought, "dang, that was easy!"

My next step was to turn the shade slightly and start working my way around. I chose to slightly turn my stencil, so the swirls would not all be facing in the same direction. And in some sections of the shade, I had the swirls running off the edges.

You can see a few of the places where the paint was too heavy (I got lazy and stopped wiping the excess on the cloth) and it spread under the stencil border. But, I was so anxious! I had to tell myself to slow down. Once I got one side of the shade completed, I set it aside to dry. Then I went back to the lamp again.
I applied a second coat of French Linen. Once it dried, I started to distress lightly. Since I was working with metal, I chose to not use sand paper, but instead used a wet rag. I lightly rubbed the rag over the paint, until the metal beneath showed through. Like the edges on the base here.


See the gold peeking through in spot...
After that was complete, I went back to the shade and finished stenciling the other side.
And here it is all done! Doesn't it look pretty nifty on top of the dresser, which just so happens to be in the same shade - French Linen!


Talk about an easy way to give an old Home Depot lamp new life! Doesn't she look all custom, boutique-chic now!
No comments:
Post a Comment